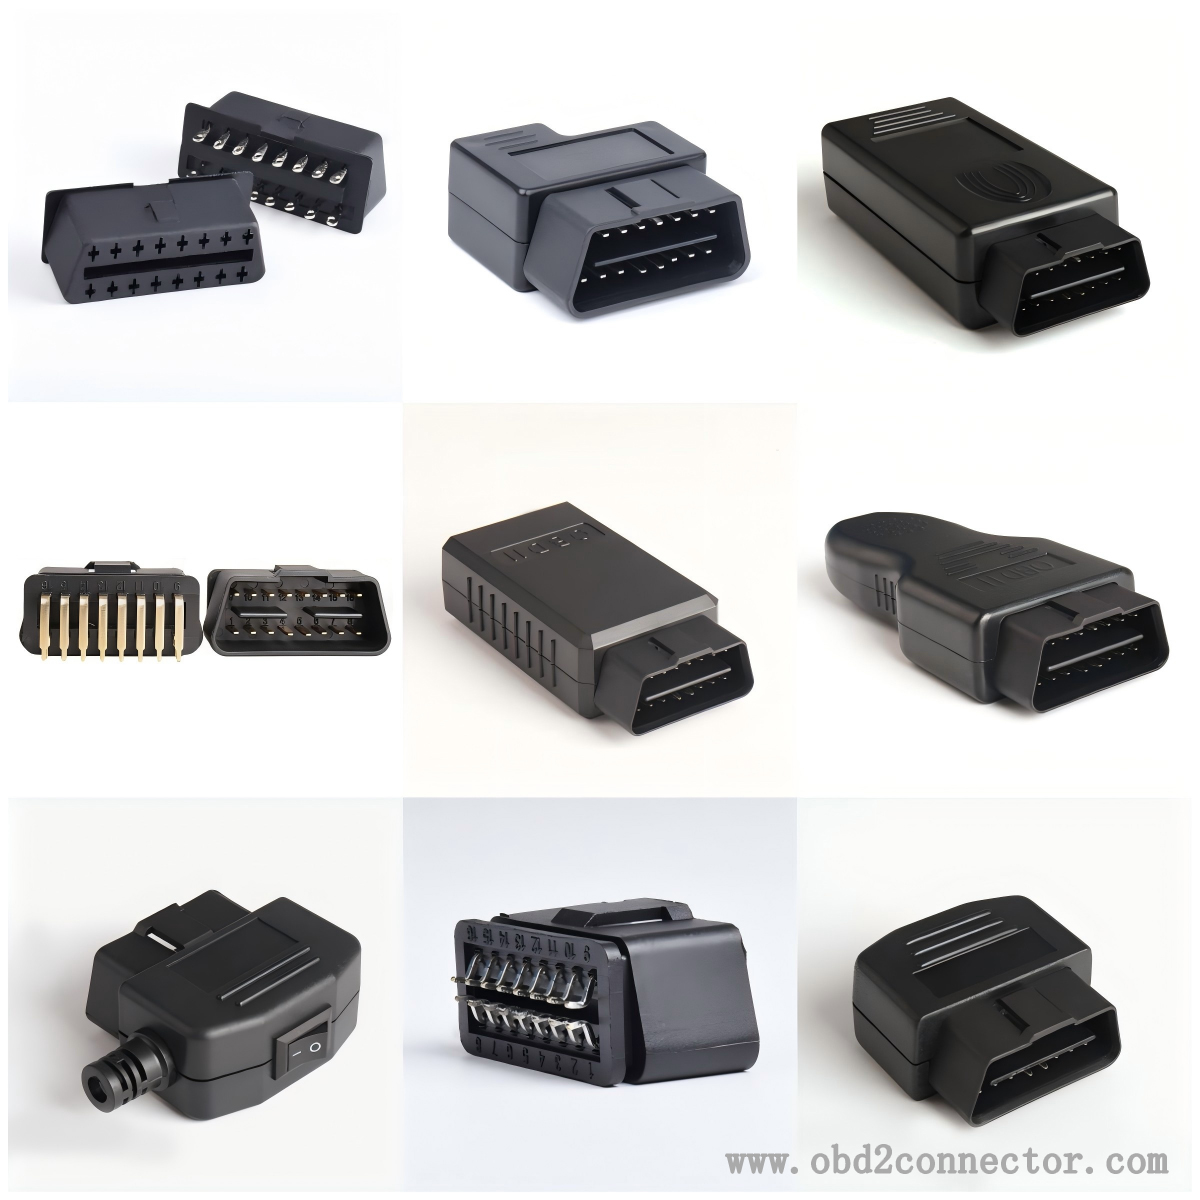
How to read car fault codes through the OBD2 connector interface?
To read car fault codes through the OBD2 interface, the following steps can be followed:
Determine the location of the OBD2 interface: usually in the cockpit, commonly located on the lower left side of the dashboard, under the steering wheel, or near the center console. If unsure, you can refer to the car's user manual to determine its exact location.
Choose the appropriate diagnostic tool: There are various types of OBD2 diagnostic tools on the market, such as handheld scanning tools, diagnostic devices that can be connected to computers, and diagnostic devices that can be connected to mobile phones via Bluetooth or Wi Fi.

Connect diagnostic tool: Insert the plug of the selected OBD2 diagnostic tool into the vehicle's OBD2 interface, ensuring a secure connection to prevent loosening and failure to read fault codes.
Turn on the ignition switch: Insert the key and turn the ignition switch to the "ON" position, but do not start the engine. At this point, the vehicle's electronic system will begin self checking, and diagnostic tools will also communicate with the vehicle's computer.
Read fault code: Follow the operating instructions of the diagnostic tool, find the option "Read fault code" in its menu and click on it. The diagnostic tool will interact with the electronic control unit (ECU) of the vehicle, read the fault codes stored in it, and display them on the screen.
Interpretation of fault codes: OBD2 fault codes generally consist of one letter and four digits, such as P0101, B2500, etc. Among them, the letter represents the type of fault code, and "P" usually represents the powertrain code, including engine, transmission and other related faults; B "represents a vehicle malfunction; C "represents chassis malfunction. You can refer to the fault code manual or online database provided by the vehicle manufacturer for detailed explanations, and there are also many car repair forums and websites that provide fault code query services.